Fixing large format tiles
The auto-leveling spacer system is recommmended:
 1
1 1. Spread the adhesive over the leveled floor where you are going to install the tiles.Spread the adhesive over the back of the tile so that both the tile and the substrate are covered. In order to ensure that the mínimum thickness of adhesive is used and that it is evenly spread, always use an adhesive comb of 10mm.
 2
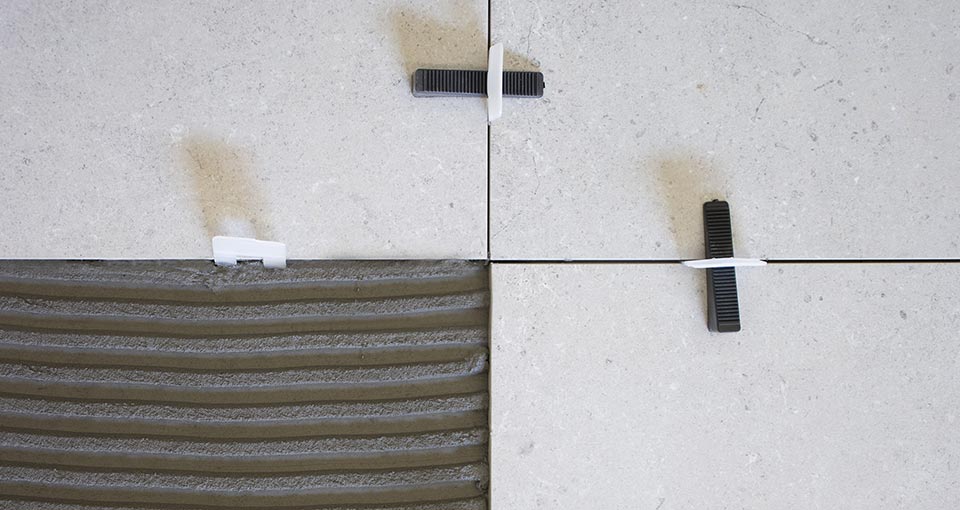
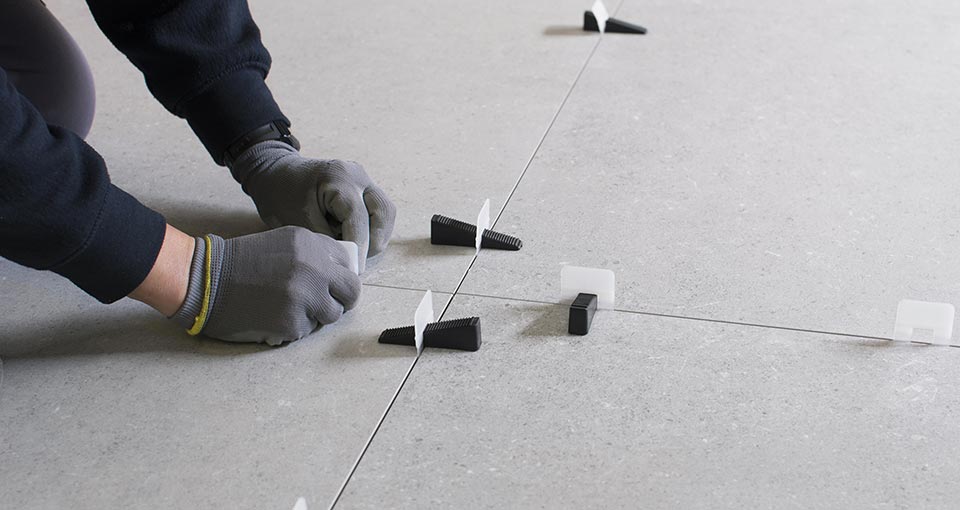
2 2. An auto-leveling spacer should be placed under the tile on the four sides. The larger the size of the tile, the more auto-leveling spaces are required.
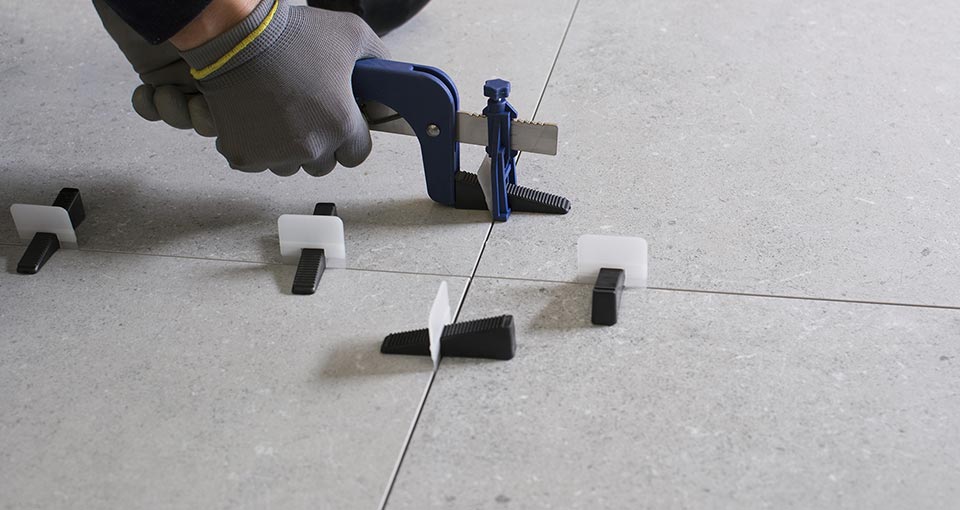
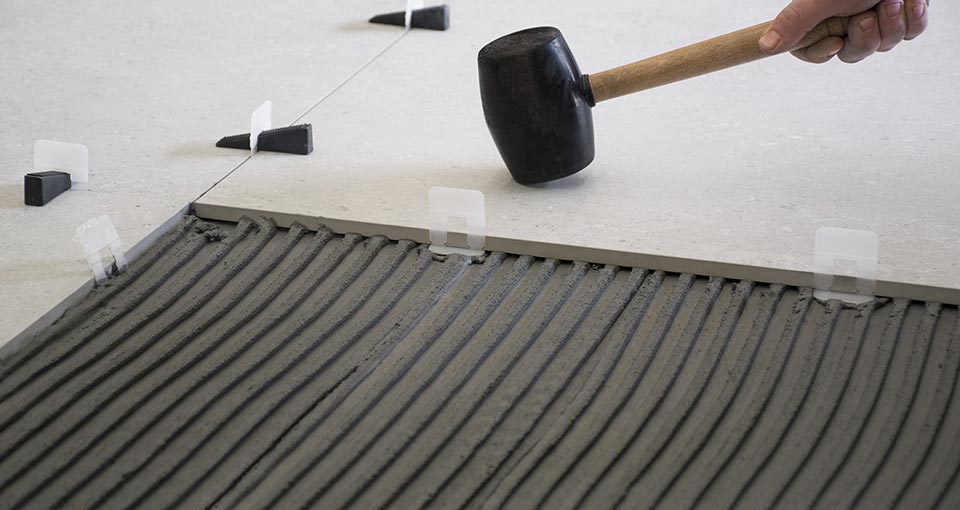 3
3 3. Fix the tile and gently tap it down into place with a rubber mallet. Insert the wedges and squeeze them into place adjusting them with the plyers without exceeding the breaking point.
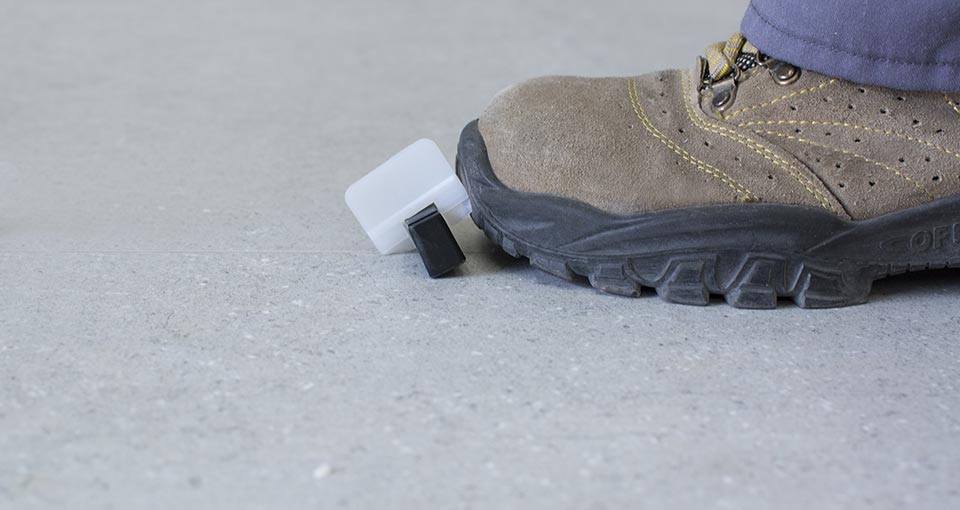 4
4 4. Once the adhesive is dry, you can remove the wedges by hitting them with a rubber mallet or with a kick in the direction of the grout.
By following these instuctions,you will ensure that the tiles are fixed level and flat. Products claims for curvature of the tile will not be accepted if the auto-levelling spacer system is not used.
Video example:
Important:
Technical specifications are valid only for those products classified as first choice. Consequently, any failure to conform to such standards with respect to all other commercial types shall not be considered as grounds for complaint.
